How to Use GoodNotes 5 for Digital Planning: A Beginner's Tutorial
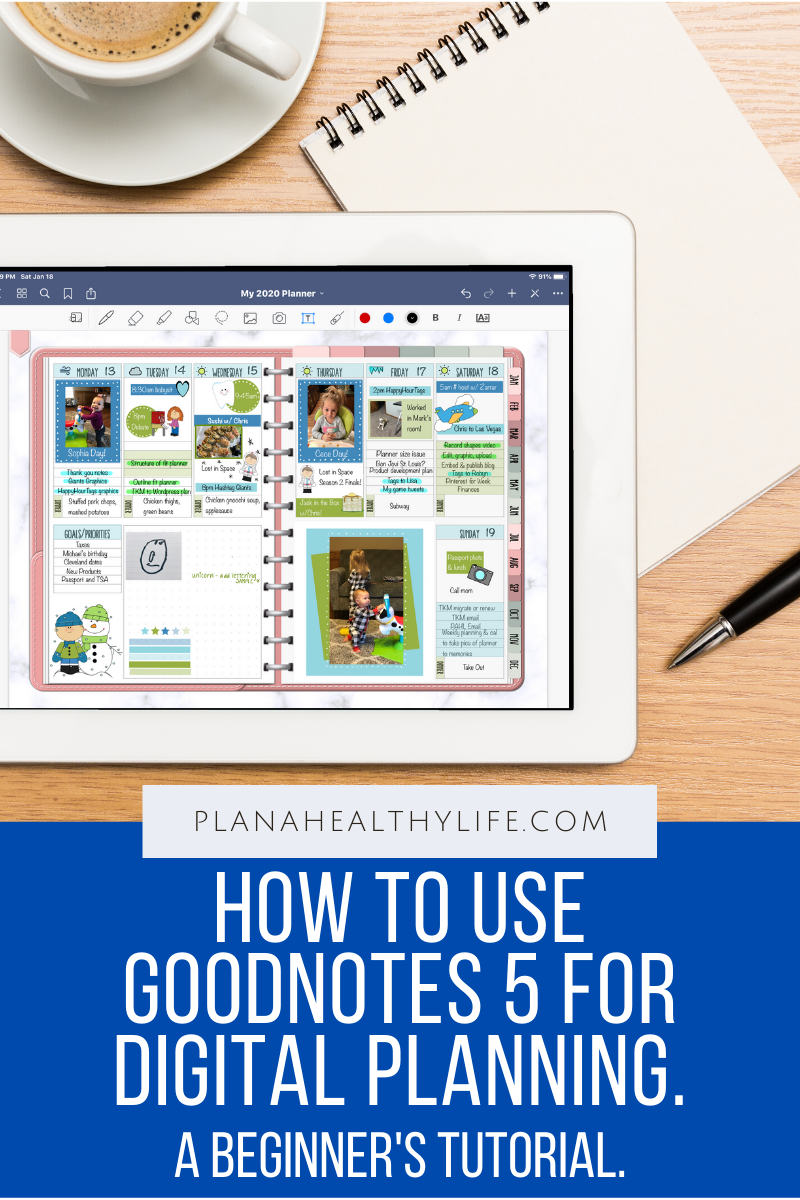
New to digital planning and GoodNotes 5? This is a beginner video tutorial to walk you through some of the basic features of GoodNotes so you can add text, handwriting, and images to your digital planner. Learn how to use the pen tool, text tool, selection tool, highlighter, and more. This video demonstration will help you resize digital stickers (images), change text color and size, and help you be a more confident and happy digital planner!
How to use GoodNotes 5 for Digital Planning
If you are new to digital planning, and using the GoodNotes 5 app on your iPad, you may be curious about some of the basic functions. This tutorial is aimed at people who are very new to GoodNotes 5 and need a little help with adding text, resizing text and changing colors, using clickable links inside a digital planner, erasing “mistakes”, and other basic features.
In this post I’ll share:
How to import your digital planner into GoodNotes
How to use the clickable links inside your planner
How to add text to your planner (demo on January date), and to resize text and change color
How to use the pen tool to "write" inside your planner
How to erase mistakes
How to use the highlighter
How to use the shape tool
How to add images (or digital stickers) to your planner from your camera roll or cloud storage
How to select text or images and move them around in your planner
How to add pages to your planner
Or you can watch the video on YouTube by clicking HERE.
Want a shortcut? Here is a timestamp “table of contents”:
Timestamps:
00:45 Use GoodNotes Help Center and Google to easily find answers
01:45 How to import your digital planner into GoodNotes
02:30 How to use the clickable links in your planner
03:55 How to insert a duplicate page (copy)
04:45 How to use an index link
05:10 Monthly tab links
05:40 Links to weekly pages
06:36 Use clickable links in edit mode (tap and hold link)
07:14 How to add text using the text tool
07:55 Changing text color
09:11 Changing the text size by using the selection tool
10:50 Changing the text color using the selection tool
11:25 Copying and pasting text (adding dates to the monthly calendar)
14:35 Copying and pasting dates from monthly calendar into weekly layout
15:30 Adding text, moving, resizing, and changing the size of the text boxes
18:20 Deleting text using selection tool
18:30 Using the pen tool to write in your planner, selecting color, pen size, and different pen options, and pressure sensitivity
20:50 Using the erase tool
22:00 Using the highlight tool
23:00 Using the shape tool (and examples of how I use it to decorate my personal planner)
25:30 Filling shapes with color (or not)
26:13 How to add images or digital stickers to your planner
27:00 Adding images from camera roll, resizing, and cropping
28:00 Adding images from cloud-based storage
29:10 How to delete images
The supplies I am using in this digital planning tutorial:
My iPad Pro 10.5 inch). This is a more recent iPad.
The GoodNotes app, found in the Apple store.. (You can also use Notability, and possibly other note-taking apps, but I am demonstrating with GoodNotes.)
A stylus or Apple Pencil. (If your iPad is Apple Pencil compatible I HIGHLY recommend spending the extra $$ for the Apple Pencil. I started out with a cheaper stylus and it was awful, lol.).
A 12 month undated digital planner found in my Planner Store.
This post contains affiliate links. For more information, see my disclosures here.
Do you love digital planning? Here are some other digital planning posts:
Don’t forget to PIN this post so you can find this post in the future!


