FREE April Digital Planner Stickers for GoodNotes and Digital Planners
Download my April simple pastel digital planner stickers! These PNG images are how I simply and quickly decorate my digital planner inside the GoodNotes app. Scroll for the free images and learn the step-by-step process I use to create a color-coordinated theme each month and decorate my digital planner pages.
In 2020 I have been using free clipart from MyCuteGraphics.com to decorate my digital planner. The clipart is, well, cute, colorful, and it makes me happy. Now, while the entire world is dealing with the Coronavirus, I really, really need to feel positive and uplifted and cute clipart and a colorful digital planner helps my mood immensely
If you’re anxious about COVID-19 too and want to journal about your experience, I have a free printable Quarantine Journal you can download here: Free Printable Coronavirus Quarantine Journal
Each month I choose one piece of clipart to be my focal piece, and then I create simple, color-coordinated digital stickers to use in my planner..
In this post I'll walk you through the process I follow, and give you all the digital stickers I made. You can download and save them totally for free!
FREE April Digital Planner Stickers for GoodNotes and Digital Planners
In this blog post:
The digital planning supplies I use.
How to choose a piece of clipart to create a color palette.
Make rectangle images, both opaque and semi-transparent, using the color palette you created.
Create any additional color-coordinated stickers, like hearts, banners, and borders.
Download my April digital stickers for free!
How I created my April monthly calendar.
How I decorated my April weekly pages.
The supplies I am using in this blog post :
My iPad Pro 10.5 inch). This is a more recent iPad for digital planning.
The GoodNotes app, found in the Apple store.. (You can also use Notability, and possibly other note-taking apps, but I am demonstrating with GoodNotes.)
The 12 month undated digital planner found in my Planner Store.
Adorable free clipart from My Cute Graphics
This post contains affiliate links. For more information, see my disclosures here.
Step 1: Choose one piece of clipart to create a color palette.
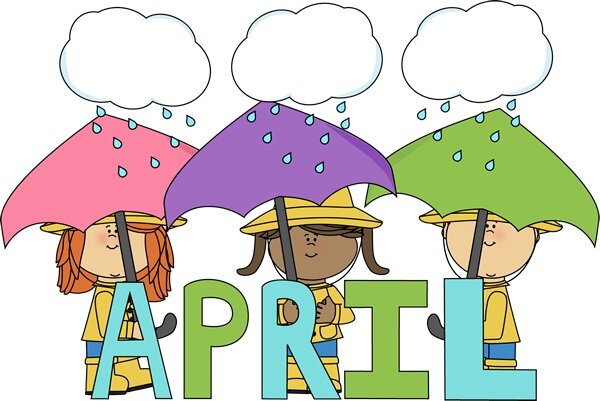
For April I’m using this adorable photo:
I like it not only because it is cute and colorful, but it symbolizes the whole world - all of us beautiful, different people - under a cloud of fear and uncertainty at the moment..
Step 2: Create a simple color palette of rectangles.
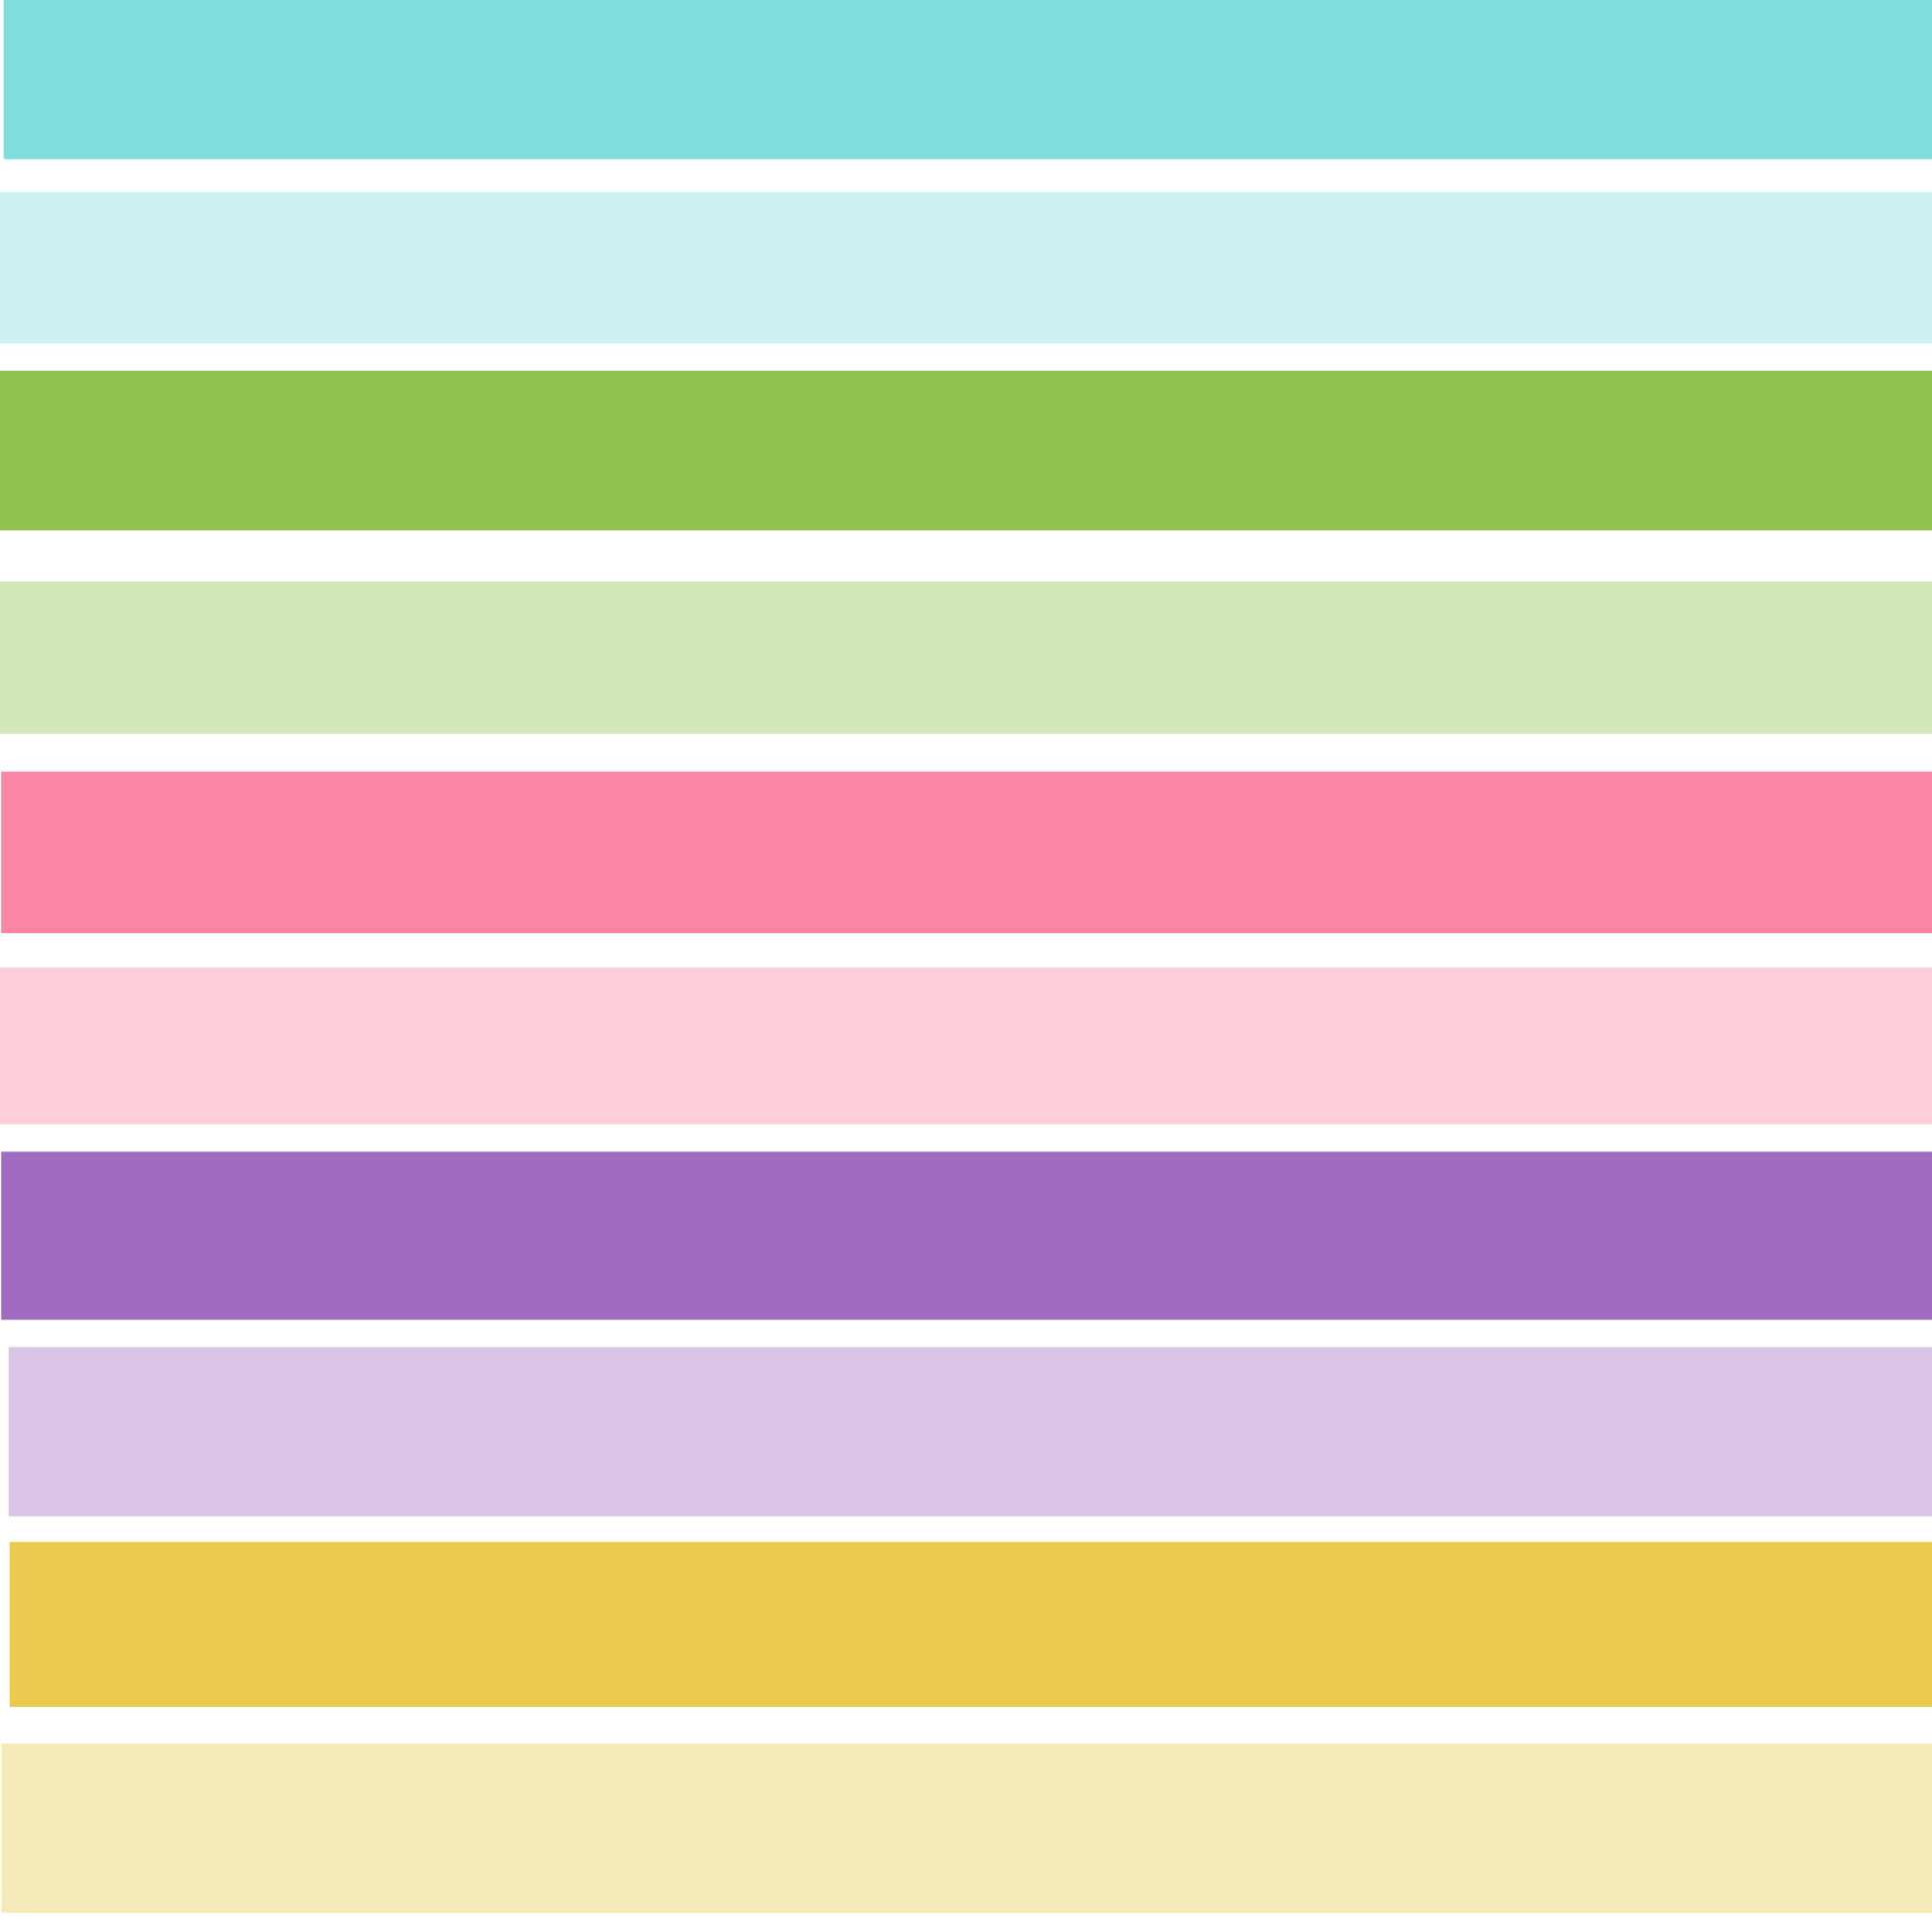
From that piece I created a color palette using the color match feature in PicMonkey with pink, green, blue, yellow, and purple.
This blog post shows you exactly how I created the rectangles in PicMonkey and there is a video walking you through the process.
I always create both opaque and transparent rectangles in each color because they are the most versatile shape and the planner I use has headers already in it. If I use an opaque colored rectangle I have to add text over the top of it. The opaque shape allows me to place it right on top of the header so I can read the text through it.
The cool thing about rectangles is that you can easily size them to any height or width in GoodNotes or Notability. No need to create many different sizes.
Step 3: Create any additional simple colorful shapes.
I also created banners in all five colors. I mainly use these banners for titles or appointments.
I use a lot of hearts in my planner. Just for random decoration, as well as for my habit tracker and when I track “Ways I Found Joy This Week.” I created heart digital stickers in all five colors.
Often I track things I’m grateful for inside my planner.
I also made a few borders with circles or arrows in the April colors.
This is a pretty minimalist list of stickers for an entire month… for a reason! I don’t get overwhelmed trying to find perfect digital stickers because I use mainly colorful shapes. My initial layouts are quite simple.
As the month goes on and if I have time and feel like it I will decorate with more stickers from MyCuteGraphics (in the Easter and Spring categories most likely), and with photos from my camera roll.
Grab your free April digital stickers!
Since I've already created these stickers for me, I wanted to make them available for you to download - TOTALLY FREE!
Just click on any of the images below, and download those stickers. These are zipped files since there are multiple stickers (there are 10 rectangles, 5 hearts, etc.). Just unzip them and use in your digital planner (see instructions HERE).
I use my stickers on my iPad in the GoodNotes 5 app. You can see the planner I use in this GoodNotes 5 tutorial on YouTube: How to Use GoodNotes 5 for Digital Planning
Step 4: Decorate the April monthly page.
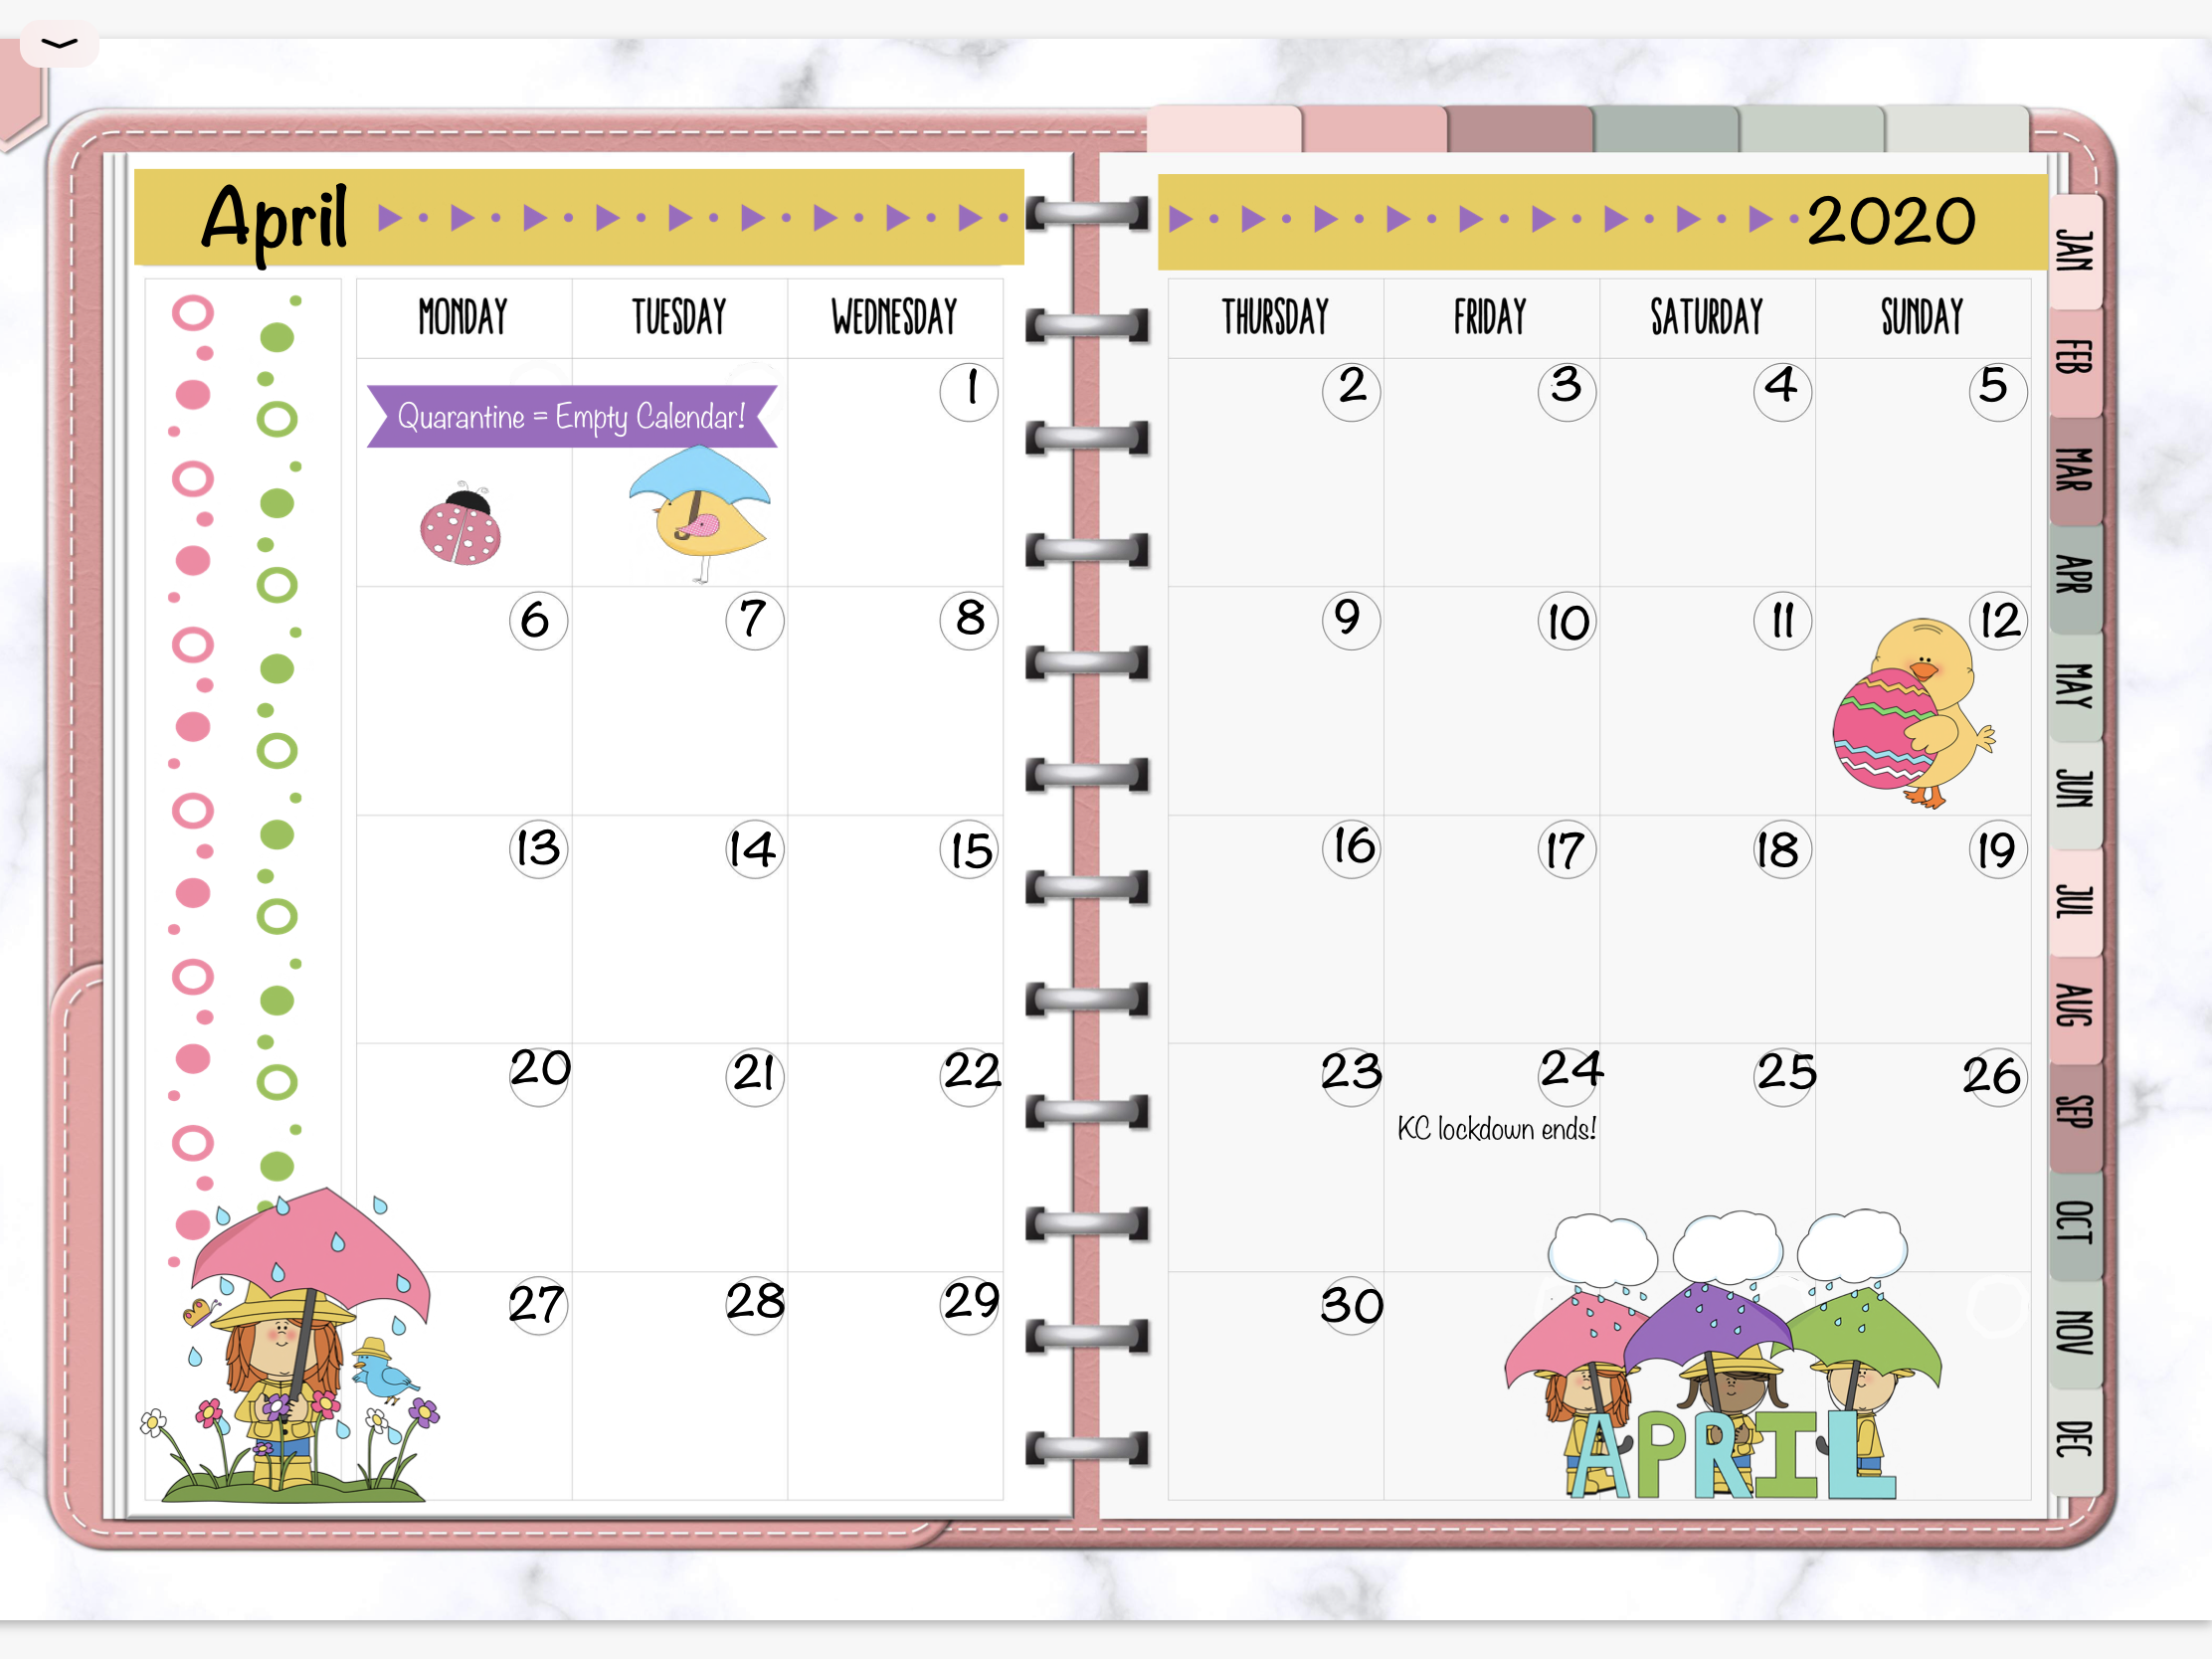
The monthly pages in my digital planner are always very simple and this month, being on lockdown, there is almost nothing on the schedule!
You can see I’ve used the April stickers I created, along with clipart from MyCuteGraphics.com, to create my April monthly calendar page.
With a state-wide Coronavirus lockdown, my calendar is pretty empty!
Step 5: Create a weekly template design for the month.
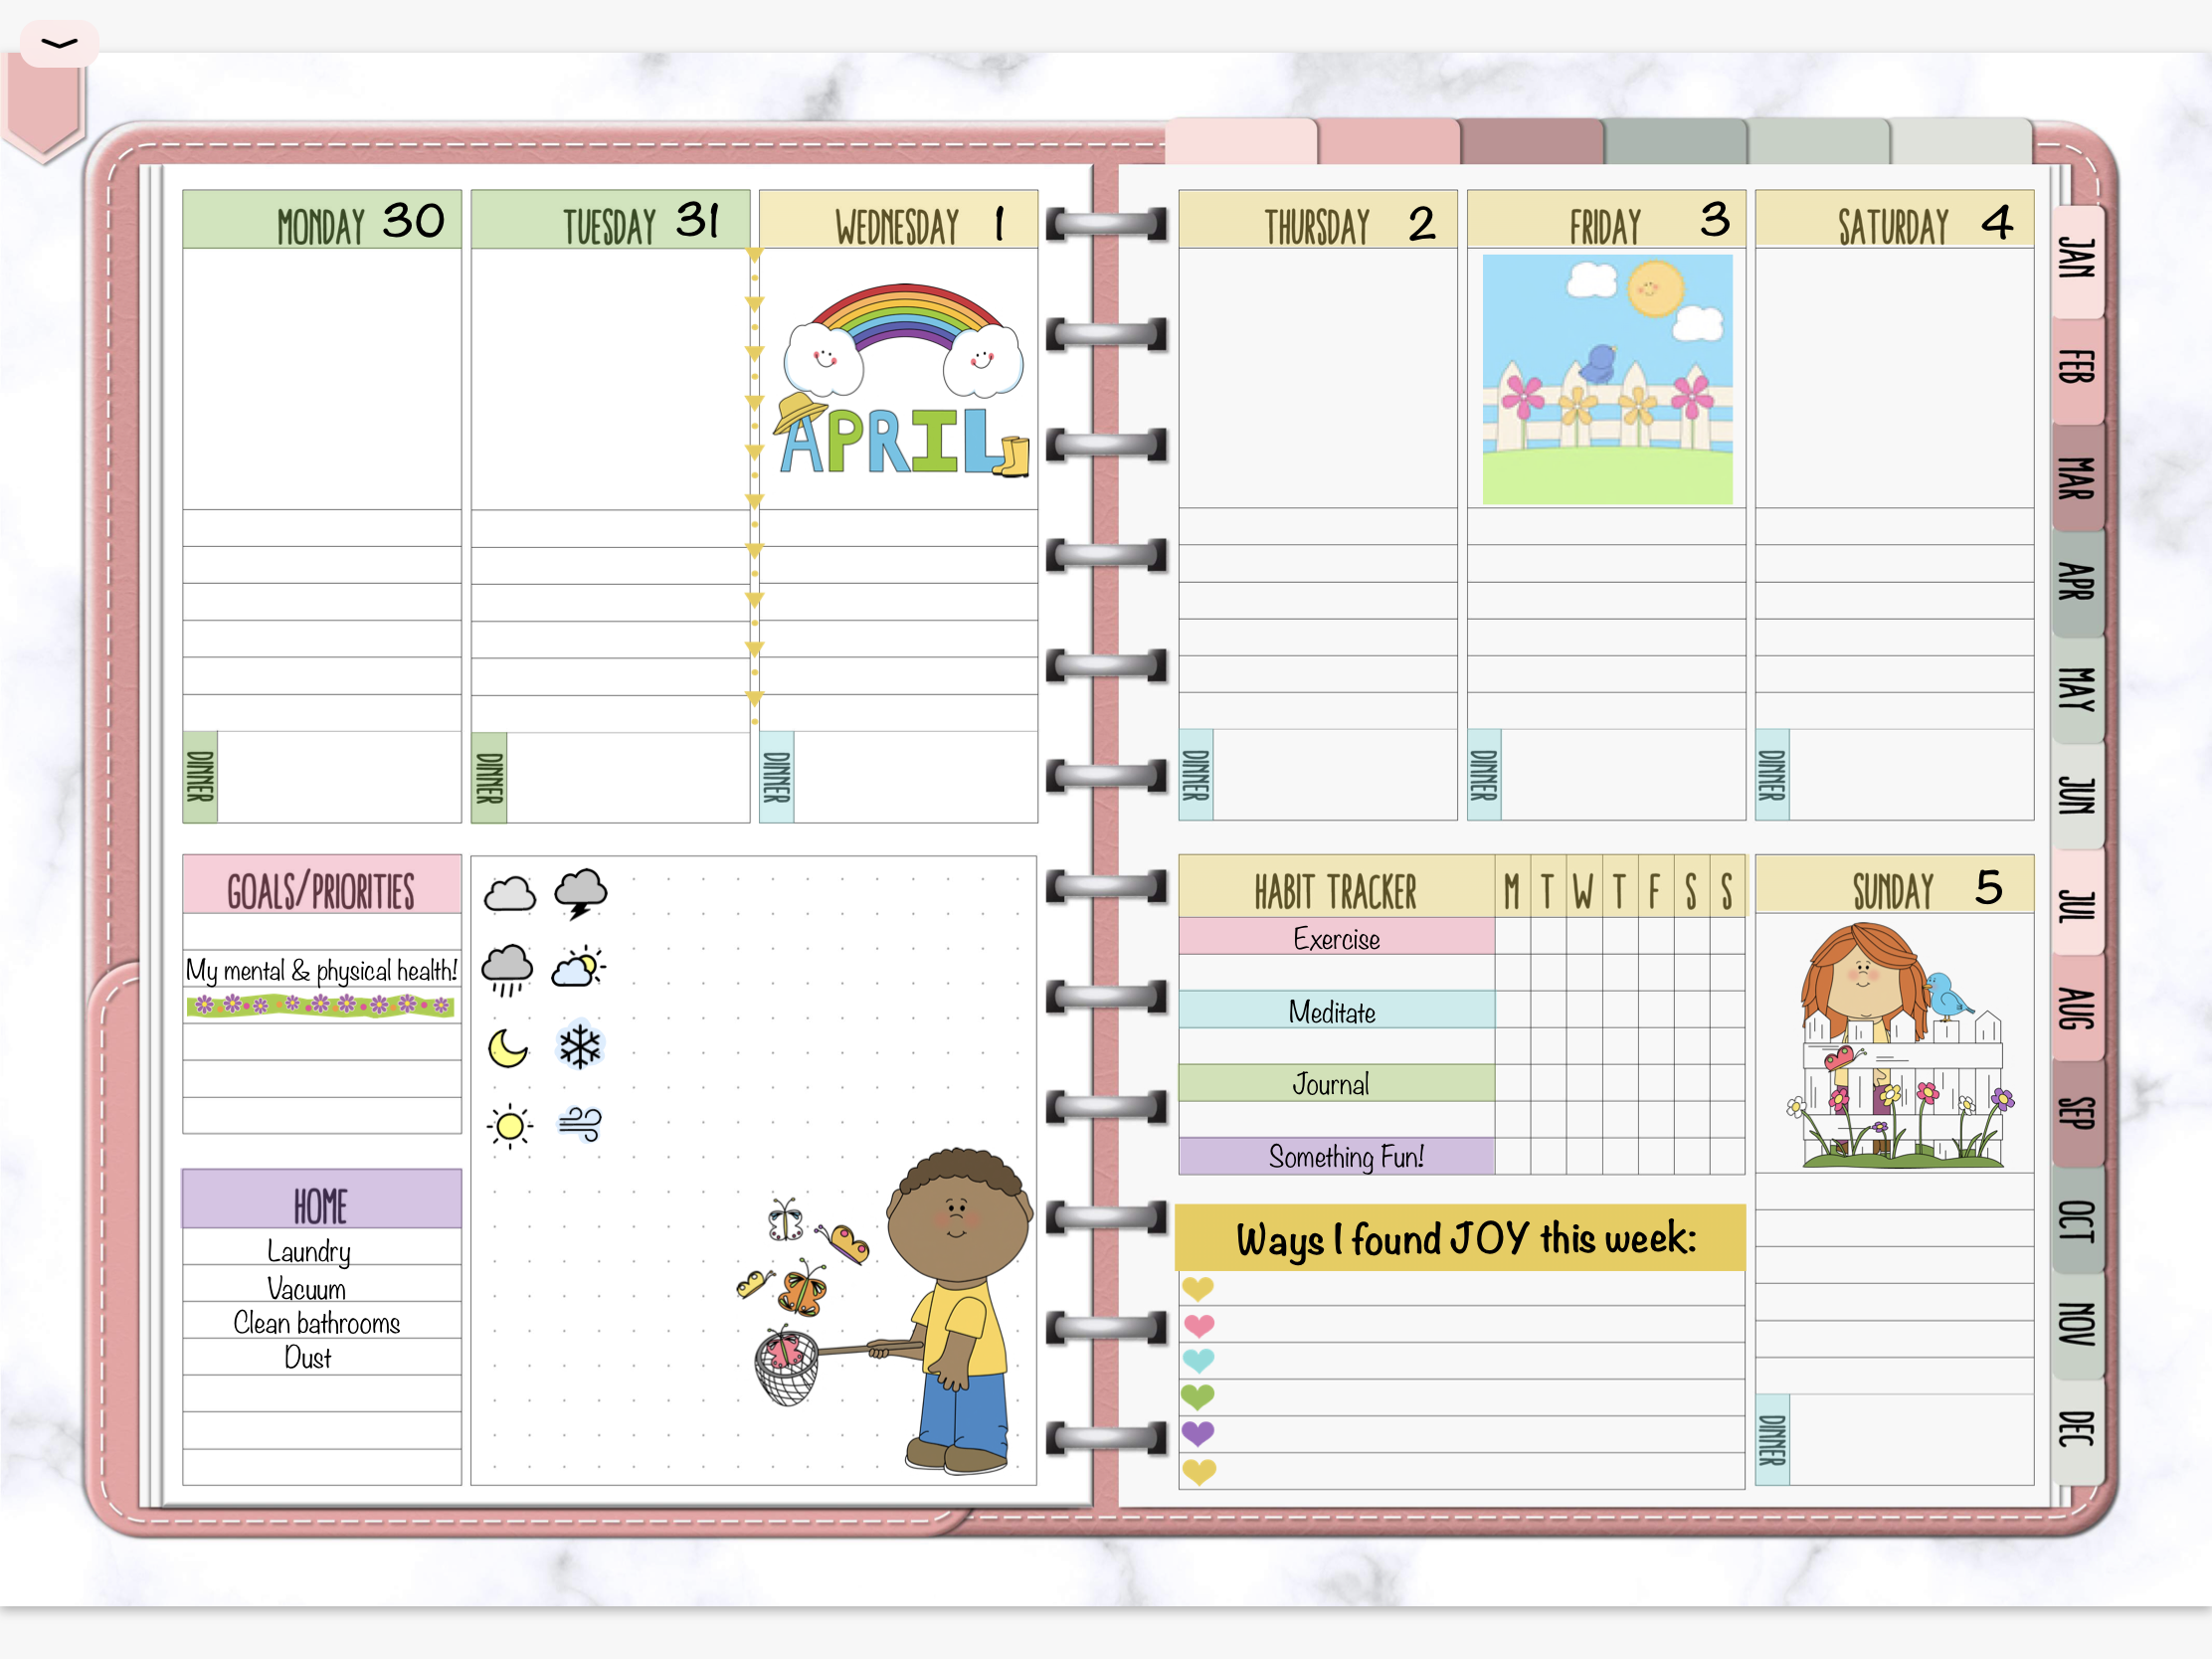
Once my monthly page is complete, I create a very simple weekly template. I use my semi-transparent stickers to cover the days of the week and other headers in my digital planner, add the things I want to track in my Habit Tracker, and any appointments or to do’s that happen every single week.
Once this page is created, I copy-and-paste the elements to the remaining weeks of the month so all I have to do is add appointments or to do’s when I do my weekly planning. This save a ton of time because I’m not decorating each week!
The last two days of March have my March color scheme.
Step 6: Fill in details (appintments and to do’s) during Weekly Planning.
On Sunday I do my planning for the week ahead. It is then that I add all the things I want do accomplish during the week. Not with digital stickers or with lots of decoration, but with simple text. When I finish a task I highlight it in GoodNotes.
I turn my planner from a to do list into a memory keeper.
My general practice is to delete boring tasks when they are completed, either at the end of the day or the end of the week. I see no reason to keep silly, repetitive tasks like “do laundry,” or “take out the trash.,” lol. I then use the now blank space to add photos from my camera roll, and simple journaling.
See, in the photo below, how my Friday, Saturday and Sunday are just simple text lists of tasks?
The screenshot is from Friday. I’ve gone back and deleted tasks from earlier in the week and have added digital stickers, photos from my camera roll, and some journaling.
At the end of the week I’ll use the space on the bottom left of the planner (blank grid box, Priorities, and Home) and decorate that and add more pictures..
This process allows me the simple, minimalistic and practical planning I like, AND helps me turn my digital planner into a memory keeping journal.
This is the current week. I start with very minimalist planning (days Friday thru Sunday), and when the day is over I go back and decorate.
I hope you enjoyed reading about the digital planning decorating process I follow each month AND the free April digital stickers!
Stay safe and healthy, my friends!
—Jacqui at PlanAHealthyLife
Don’t forget to PIN this post so you can find it in the future!
